Hey, is there a noisy neighbor upstairs who just won’t stop stomping around all day?
You know the sounds all too well:
- The “pitter-patter” of children running back and forth in bare feet.
- The sharp, rhythmic “click-click-click” of a woman pacing in high heels.
- The heavy, dull “clunk” of a man’s leather shoes hitting the floor.
You’re probably sitting there, looking at your ceiling, wondering: “How can I actually record this noise so people believe me?”
These sounds don’t just stay in your ears—they get under your skin. They come and go, constantly jerking your mood from a low-frequency hum to a high-tension beat. As your blood pressure rises, restful sleep becomes impossible. Before you know it, you’re feeling stressed, drained, and completely on edge.
You realize you’ve reached your breaking point. You need to do something to stop the constant stomping from those loud neighbors once and for all.
Don’t worry. I’ve been through this exact same struggle—and honestly, I think my experience was even worse than most. (If you want to see how bad it got, feel free to read my story.)
If you’re planning to take action—whether it’s a direct confrontation, calling the property manager, or even taking it to the police or a courtroom—you need solid evidence.
I once sent my recordings to my neighbors, the property manager, and the police. Every single one of them agreed: the evidence was crystal clear. When we played the recordings, my neighbors were left completely dumbfounded. They had nothing to say.
Now, let me show you the “trick” to recording your loud upstairs neighbor’s stomping.
Things to Know Before Recording Upstairs Stomping
You don’t need any fancy, expensive gadgets—those companies just want to empty your wallet. Trust me, the smartphone you’re holding right now is more than capable of capturing excellent evidence of your neighbor’s noise.
However, you can’t just hold your phone in your hand and hit “record” like you’re filming a TikTok. To get crystal-clear audio, you need a specific technique.
Before we dive in, let’s look at the science behind why your previous recordings might have sounded so weak.
The Secret: Solids vs. Air Sound travels at different speeds depending on the medium. As a rule of thumb: The denser the material, the faster and clearer sound travels through it. Between solids, liquids, and air, sound travels fastest in solids and slowest in air.
When you hold your phone in the air to record, the sound has to vibrate through the ceiling, then travel through the air before reaching your microphone. By the time it gets there, the quality is compromised. The result? A muffled, quiet recording that doesn’t sound nearly as loud as it does in real life. It’s definitely not the kind of evidence that will convince a landlord or a judge.
The Solution? Direct Contact. Instead of letting the sound dissipate in the air, we need to capture the vibrations directly from the source.
How? It’s simple: Press your phone directly against the wall or, even better, directly against the ceiling. By turning the ceiling into a direct conductor for your phone’s microphone, you’ll capture the full, heavy impact of every stomp.
A Step-by-Step Guide to Recording the Noise
Step 1: Create a Silent Environment
Close all windows and doors. Turn off the TV, music, air conditioner, and any other appliances that hum or buzz. You want the microphone to focus entirely on the ceiling, not your fridge.
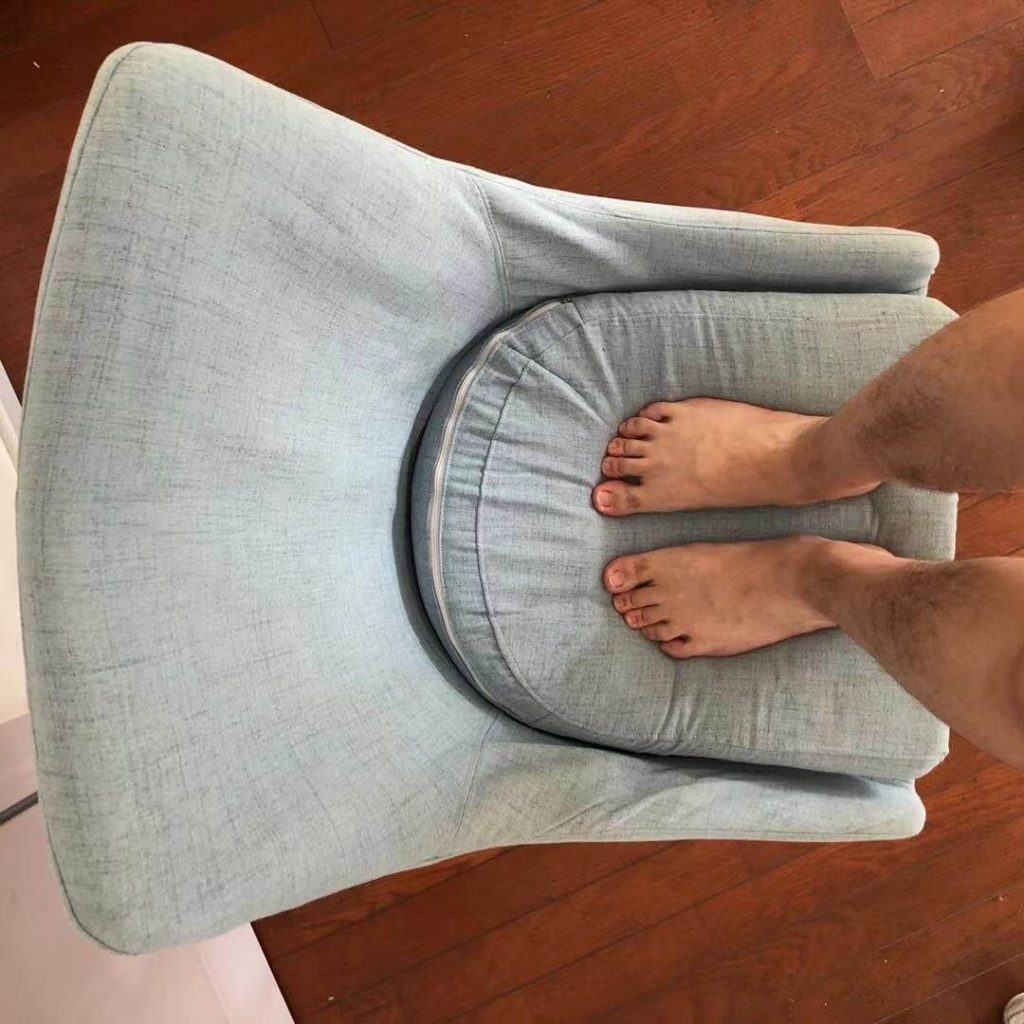
Step 2: Position Your “Recording Station”
Find a stable chair or step ladder. Place it directly under the area of the ceiling where the stomping is most frequent or loudest.

Step 3: Prepare for the “Strike”
The moment the stomping begins, grab your phone and stand on the chair. Open your voice recording app and switch your phone to silent mode. You don’t want a sudden notification ping to ruin your evidence!
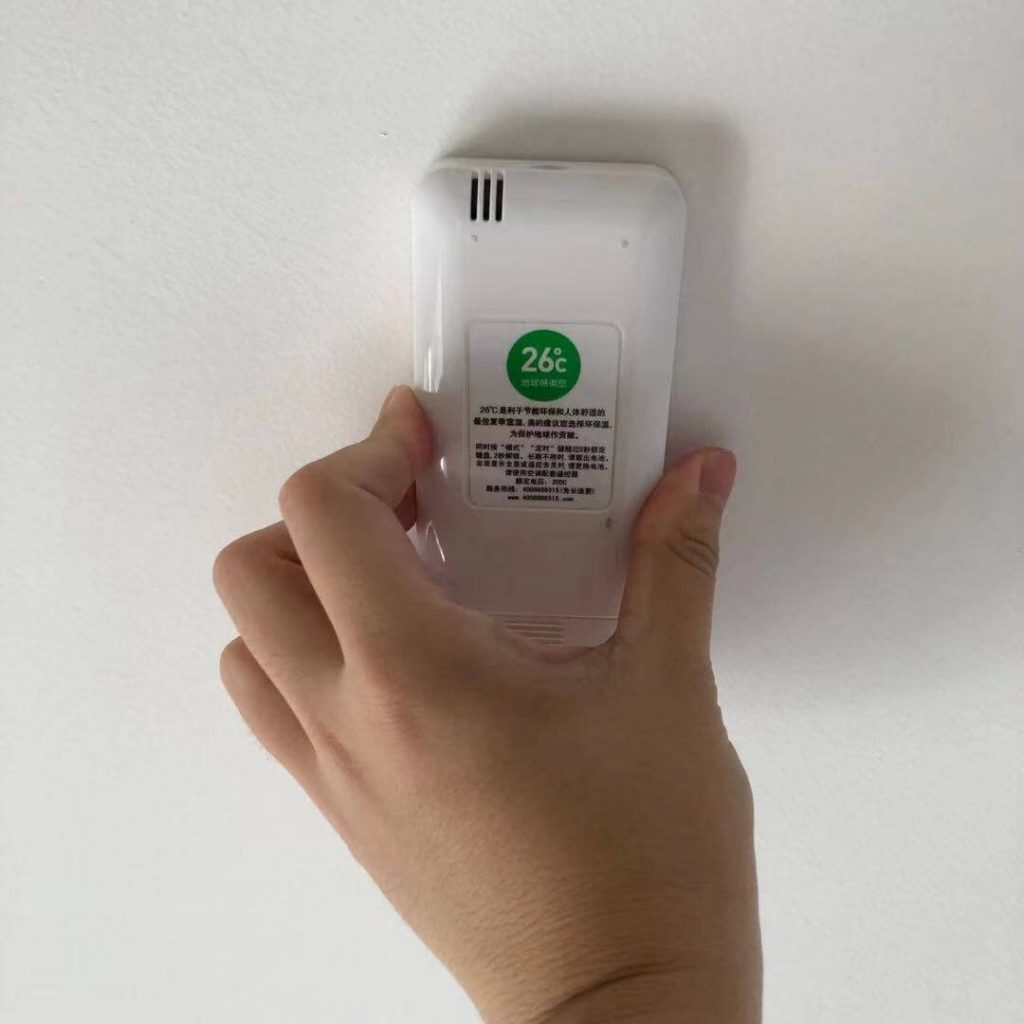
Step 4: The “Screen-to-Ceiling” Technique
Press the front of your phone (the side with the screen) firmly against the ceiling. In my experience, the microphones on most smartphones pick up solid-surface vibrations much more clearly through the front assembly. (Note: In the demonstration photos, I’m using an air conditioner remote since I only have one phone to film with, but you should use your actual smartphone!)
How long should you record?
There’s no magic number. Whether it’s 30 seconds or 3 minutes, the goal is quality over quantity. Focus on capturing a clean loop of the heaviest stomping—that’s the evidence that carries the most weight.
Victory is Within Reach
By now, you should have several high-quality recordings saved on your phone. Does it feel a bit better already? For the first time, you aren’t just a silent victim, you have a weapon. It’s like finally seeing light at the end of the tunnel—victory is within reach.
Next Steps
Go through your clips and select the one with the loudest impact and the clearest frequency. This is your “Master File.” You are now ready to send a copy to your neighbors, property management, the police, or even a judge if the situation escalates.
Wrap Up: Your Next Move
Recording the noise is just the first step—it’s the “negotiation and evidence” phase. In an ideal world, showing them the proof would be enough to make them stop.
But let’s be honest: some neighbors simply don’t care, and some property managers won’t take action unless forced. If the complaints fall on deaf ears and you’re tired of being the only one suffering, it might be time to level the playing field.
If negotiation fails, you may want to consider “returning the favor” in a way they can’t ignore.
Check out my other guide: 6 Gadgets I’ve Used to Annoy My Upstairs Neighbors (And Won!) for more effective ideas on how to take back control of your home.
Good Luck—stay strong, and get ready to enjoy the silence!
Ok I’m Trying This I’m Having Heart Palpitations And My Migraines Has Intensified Went To The Doctor And Now I Gotta Go See My Doctor For Migraines This Month As Well
My suggestion, after doing video I convert it with freeware HandBrake software adding Gain to audio, to achieve clearer heavier sounds